

I love these cookies and I hate them. They are teeny tiny. That means that making them and filling them is extremely time consuming. On the other hand, they are absolutely delightful. If you’re in the mood for doing some repetitive work that yields great results, go for it. If not, I think you could roll the dough out to 1/4”, cut them, bake them and drizzled them with chocolate. The texture of the cookie is akin to a delicate, crisp shortbread.
The name in Italian means “lady’s kiss” because some think that when you look at them sideways they look like pursed lips. Well, I guess if you squint………. The traditional ratio of ingredients is one part flour to one part ground almonds or hazelnuts to one part butter to one part sugar. There is a pinch of salt but no egg and no other flavorings. The cookies are sandwiched together with chocolate and it’s a simple but lovely pairing of nuts and chocolate with nothing else to distract you. I’ve seen recipes add coffee or vanilla to the dough. I think a little lemon rind might be nice. I love chocolate and lemon and lemon goes well with almonds and hazelnuts.
I have reduced the sugar and the butter in my recipe as I find the traditional recipe too sweet and with a little less butter it keeps its shape better. I honestly would not add back any sugar. If you want to add back the butter to 140 grams I would chill them before attempting to shape them. I would also bake the frozen cookies on frozen cookie sheets lined with a silicone mat or they’ll spread into flat discs. Thanks to Domenica Marchetti (domenicacooks.com) and Steve Dunn (Cooks Illustrated 10/1/2019) for guiding the way to my version of the recipe.
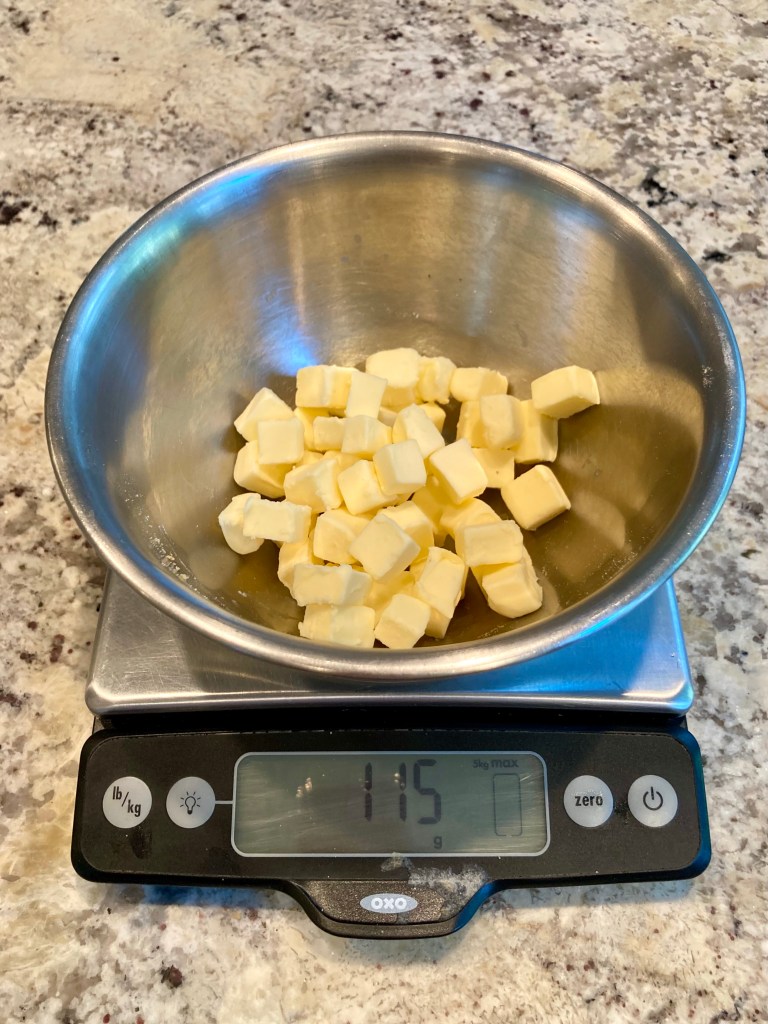
I’m only giving metric measurements for the flour, hazelnuts and butter because that is the most accurate measurement. For example, 115 grams is a bit more than 1/2 cup and 140 grams of flour is perhaps 1 cup and 2 tablespoons depending on whether or not you scoop and level or fluff up the flour and spoon it into the cup. Do you understand where I’m going with this? While weighing your ingredients in grams is better for all recipes, for this particular one it’s really critical in order to get the right shape.
INGREDIENTS
- 140 grams roasted, peeled hazelnuts (You can also use roasted hazelnut flour but I prefer the texture of the slightly rougher grind when you do it yourself).
- 140 grams bleached Gold Medal AP flour (You can use unbleached but the texture won’t be as delicate)
- 100 grams (1/2 cup) superfine sugar (yes, superfine gives you a more delicate texture than regular sugar)
- 115 grams (I used President. Please use a European cultured butter. It is more flavorful and has a lower water content than most American butters).
- 1/8 teaspoon fine sea salt
- 100 grams (3.5 oz) bittersweet (65 to 70%) chocolate, coarsely chopped (I used Lindt 70%)
DIRECTIONS
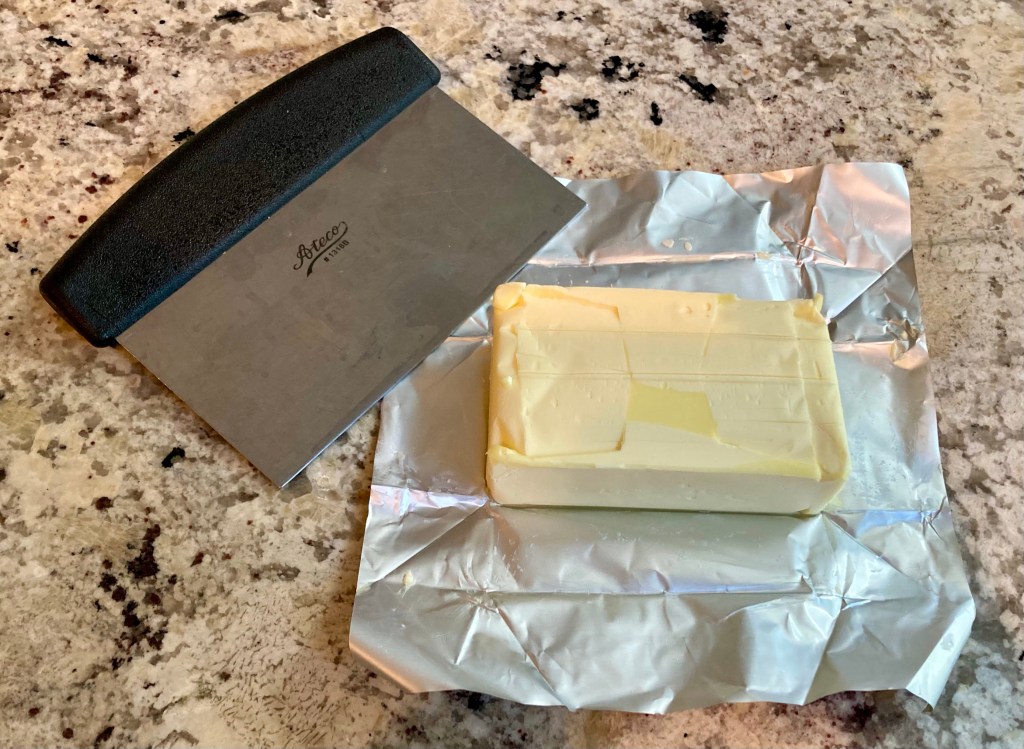
- Take your butter from the refrigerator and cut into 1/2” cubes, then place back in the refrigerator. I like to use a bench scraper, not a knife. It’s safer and gives you straighter cuts because the bottom is not tapered.
- Roast your hazelnuts in a 350F degree oven for about 10-15 minutes until they are a light golden brown. If the skins are on them, place them in a clean dish towel, pick up the sides and rub the nuts to remove some of the skins. Don’t remove all the skins. It’s nice to have some as it provides visual interest. Let them cool to room temperature and then put them in the refrigerator to further chill them.
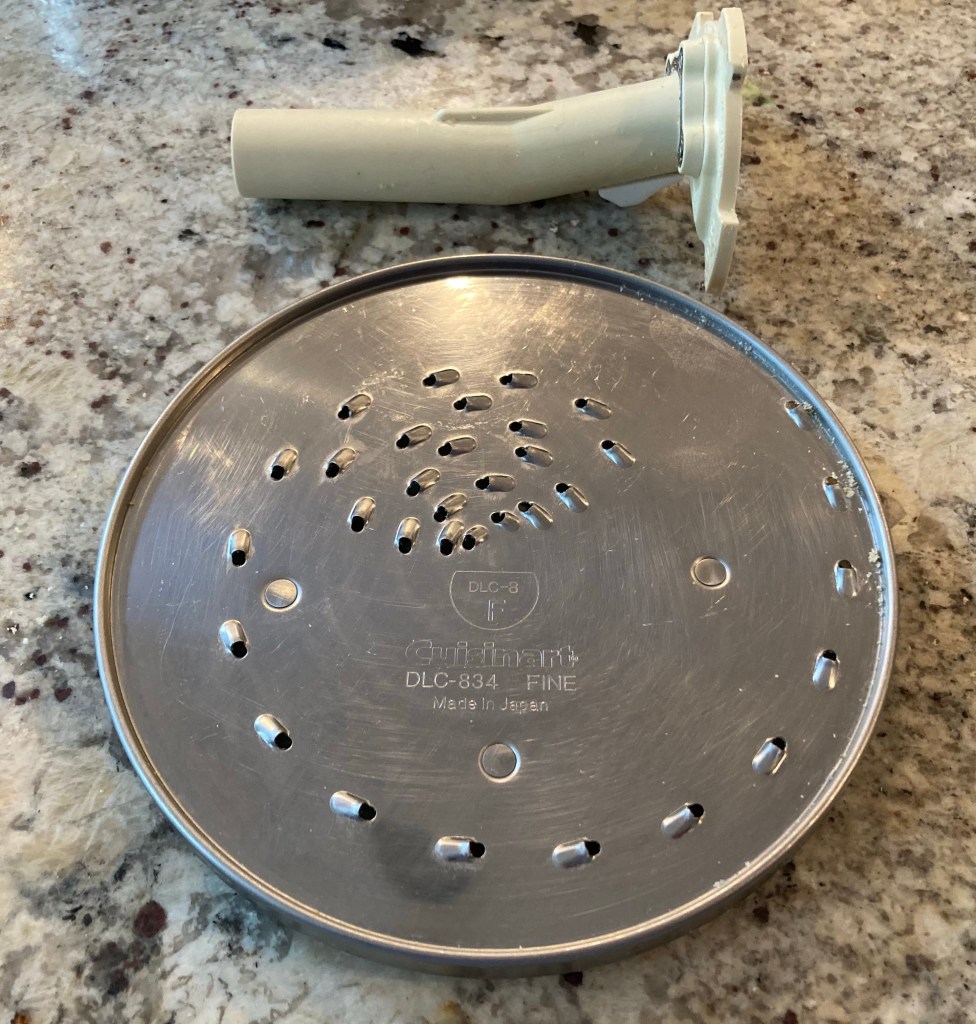
- When the hazelnuts are cool, place the fine grating disc in your food processor and grate the nuts. Put all the grated nuts into a bowl. Using a hand sifter to sift out out any big pieces into a second bowl. Take the contents of the second bowl and run them through the grating disc again. Then, put your chopping blade in the food processor and chop them until they’re about the same size but don’t chop them until they’re oily. You’ll chop them time with the sugar and flour.
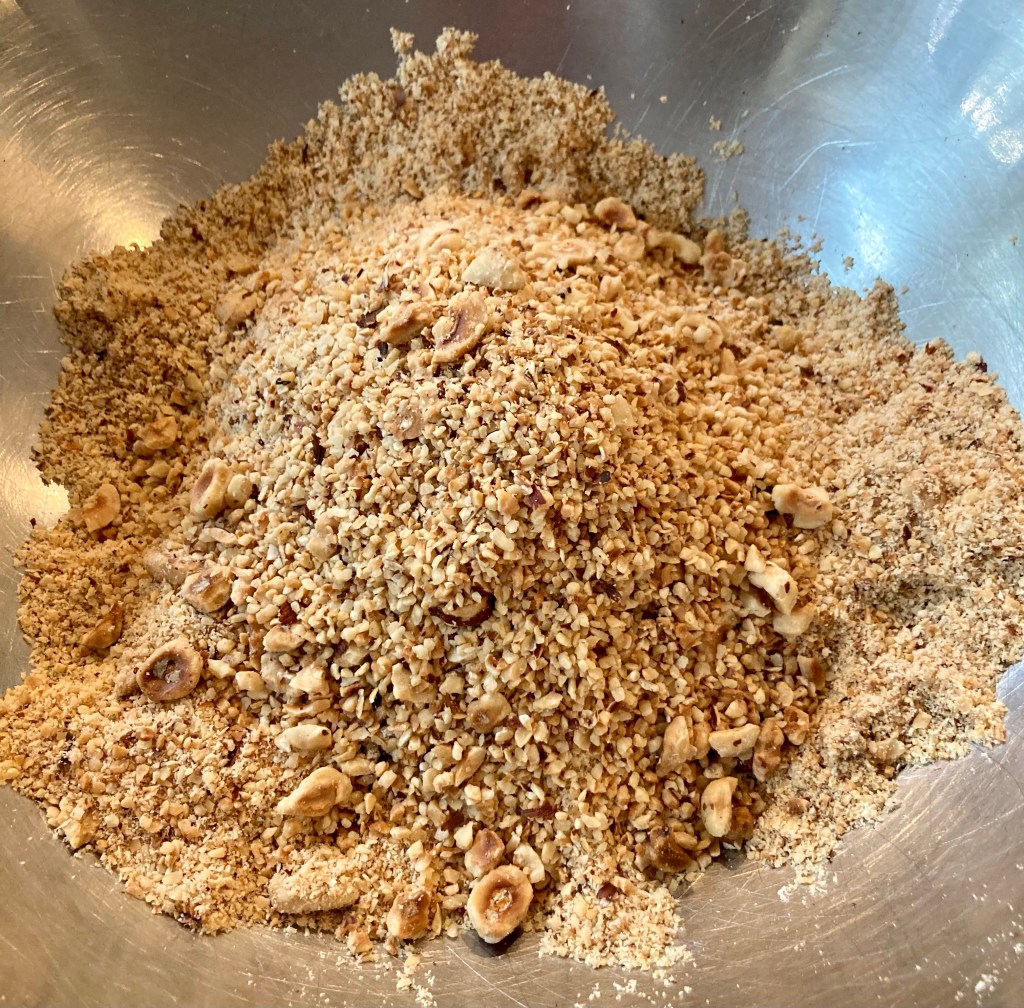
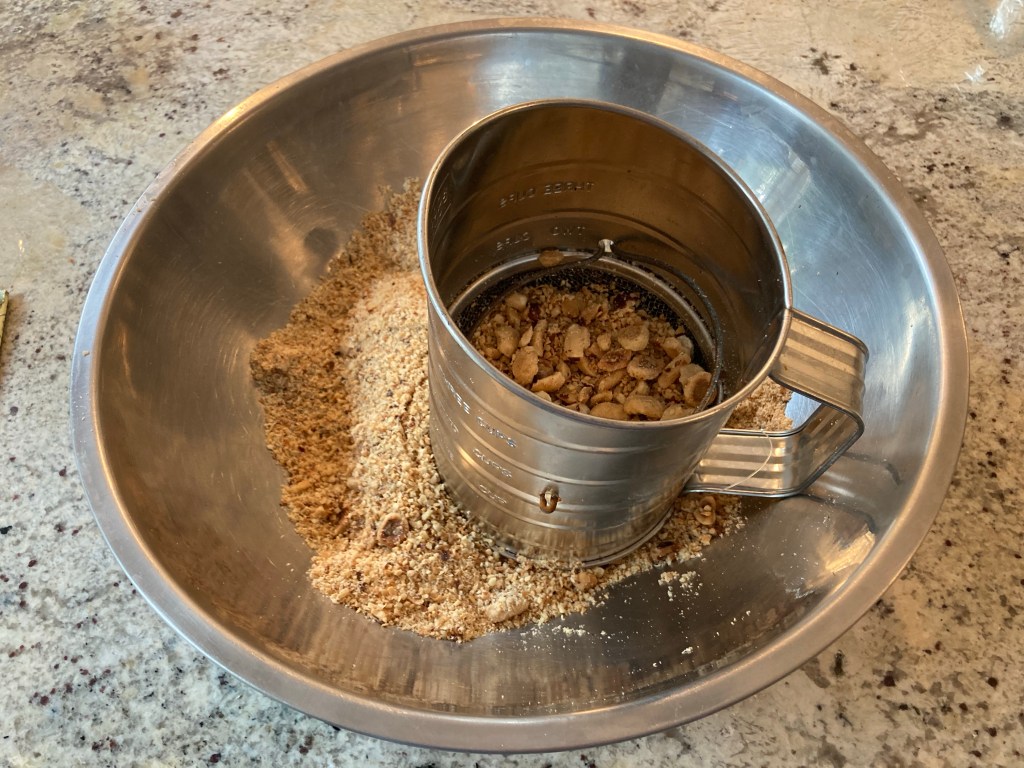

On the left is the nuts that went through a second pass with the grating disc and then a pass with the slicing blade.
- If you don’t have a food processor I’d recommend using roasted hazelnut flour (which is just finely ground hazelnuts). If you can’t find roasted hazelnut flour use plain hazelnut flour and roast it in the oven at 350F until it smells fragrant and is light brown. Keep a close watch on it as the hazelnut flour it burns much faster than whole nuts. Make sure it’s completely cool before you use it.
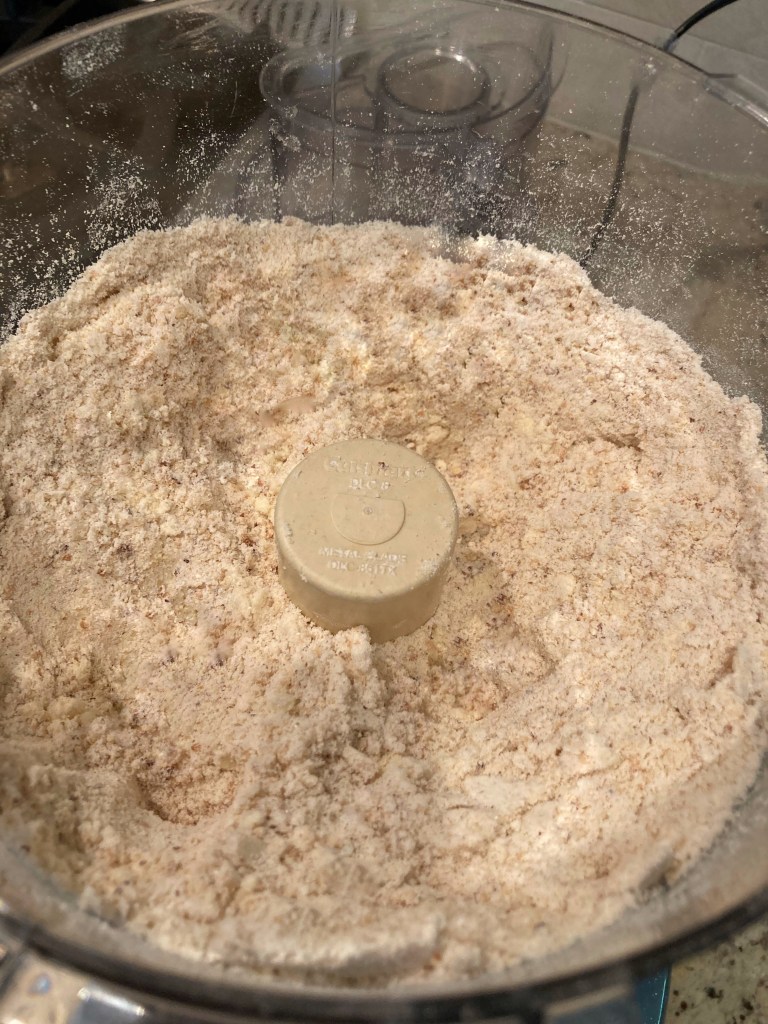
- Place the sugar, flour and grated hazelnuts into the food processor with the slicing blade attachment. Pulse on and off until everything is well combined. Be careful not to over process as you don’t want the nuts to release oil and make everything greasy.
- Scatter the cold cubed butter over the top of the mixture. Pulse until the mixture looks like course sand. There shouldn’t be visible pieces of butter and it should be dry and powdery.


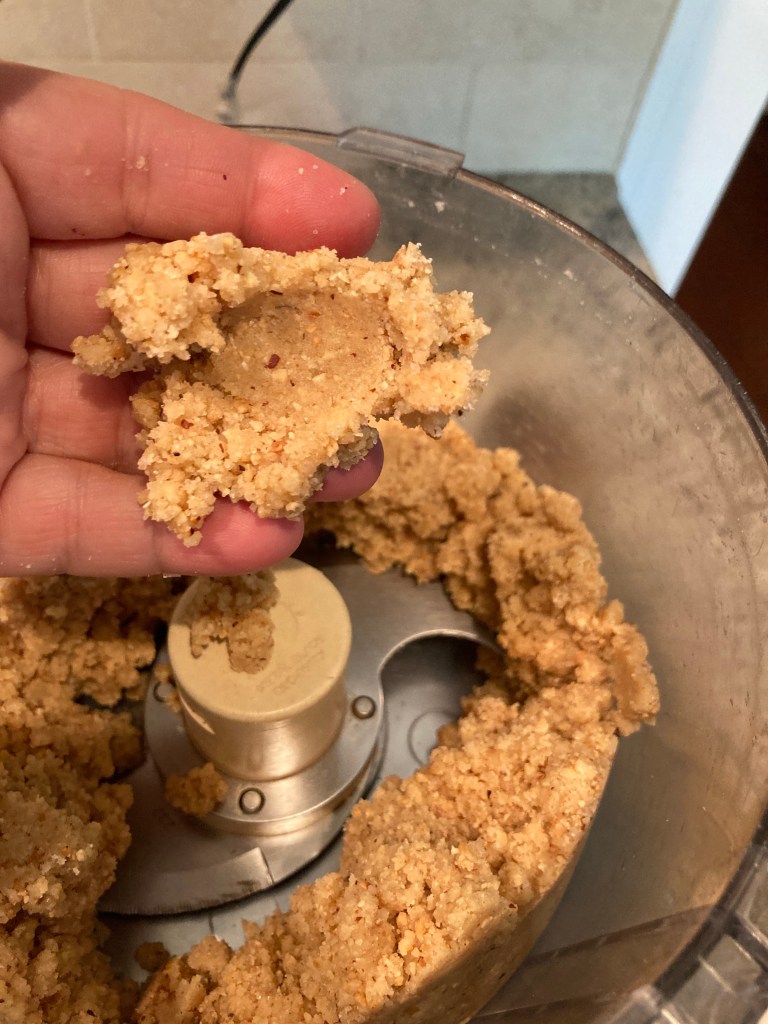
- Turn out the mixture onto a silicone mat. Now, I’m going to give you choices as to how to proceed to shaping the cookies.
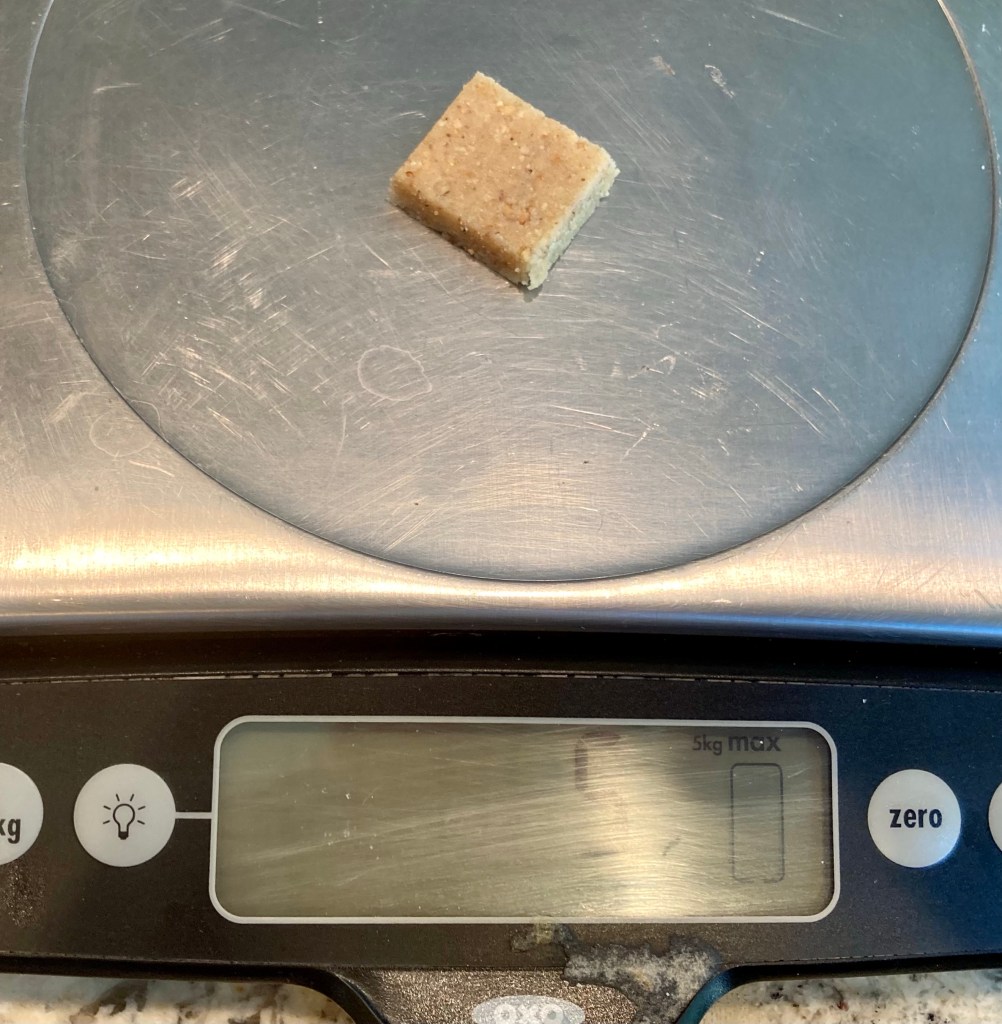
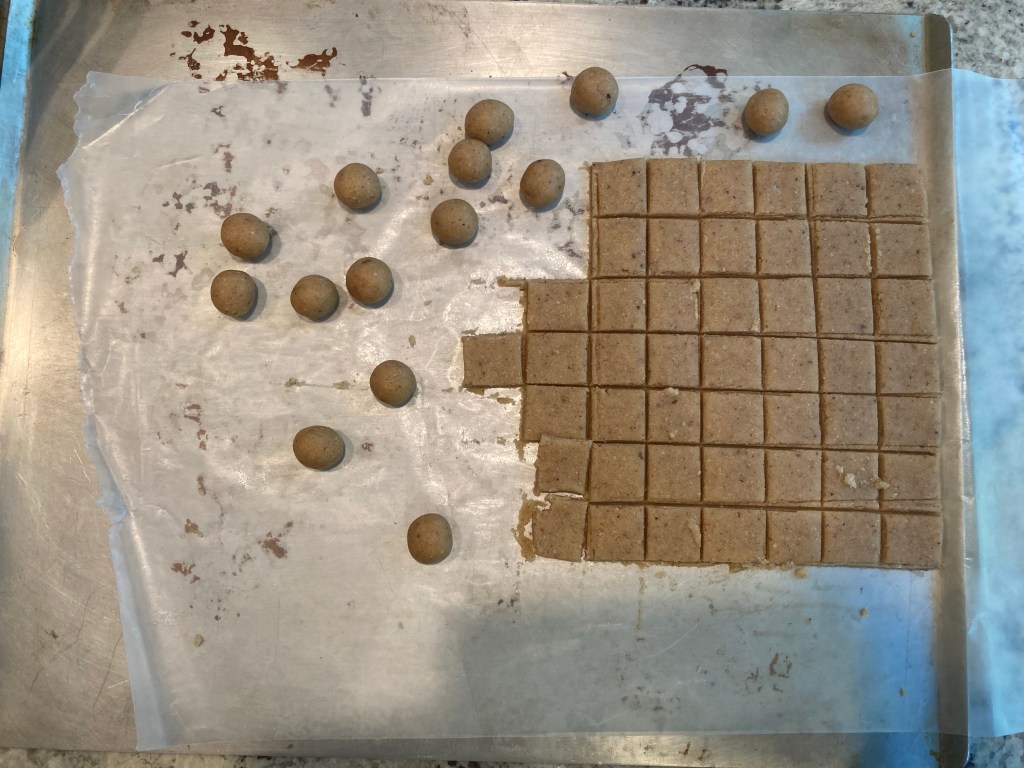
- Choice #1: Pinch off hazelnut size pieces of dough and roll them into balls. They should be 5 grams each. It doesn’t look like it will be big enough but I promise, it is. It’s the perfect size so you can pop the whole thing in your mouth.
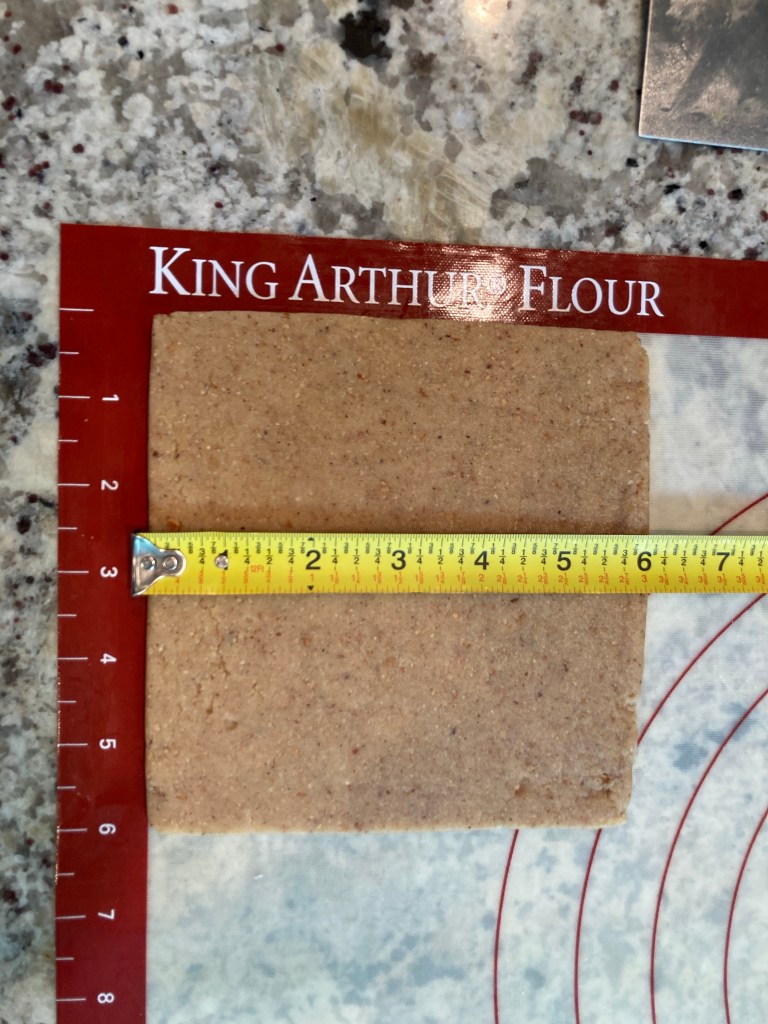
- Choice #2: divide dough into two portions. One portion should be 320 grams and should be shaped into an 8” square. This portion should be cut into 64 equal pieces. The remaining piece should be shaped into a 6” square and cut into 36 pieces. Both the 8” square and the 6” square should be chilled before they are cut. Each square should weigh 5 grams and should be rolled into a ball between the palms of your hands. Be gentle because the dough has a tendency to crumble. If it does, just pinch it together and keep on rolling. The heat of your hands will help make the dough malleable. Once I’m done rolling a ball, I drop it on the counter top. This flattens the bottom so they don’t roll all over when you put the tray in the oven. Now, they will,have a slightly higher mound if you don’t flatten the bottom but, it drives me crazy to na e them rolling all over the cookie sheet. Depending on how straight you can cut, each square will be 5 grams. I can’t seem to cut a straight line so I usually have to make some adjustments. I put every piece on the scale and if it’s even a gram too light I’ll take a piece from another square to make it 5 grams.


- Once all the balls are rolled, freeze them. Place a silicone mat on the cookie sheets and freeze the cookie sheets as well. Freezing the cookie sheets is Domenica Marchetti’s tip and it’s brilliant. It helps keep the cookies from spreading as does the silicone mat.
- Preheat the oven to 310F. A hair over and they will flatten so use an oven thermometer to make sure your oven temp is correct. I discovered this by failing to read my own recipe and setting the oven to 325F. Remove the cookie sheets from the freezer and quickly place some of the cookies on them, spacing them about 1” apart. Bake for about 20 minutes and check them. The bottoms should be light brown and the outside should be firm to the touch.
- Remove them from the sheet pan and let them cool completely.
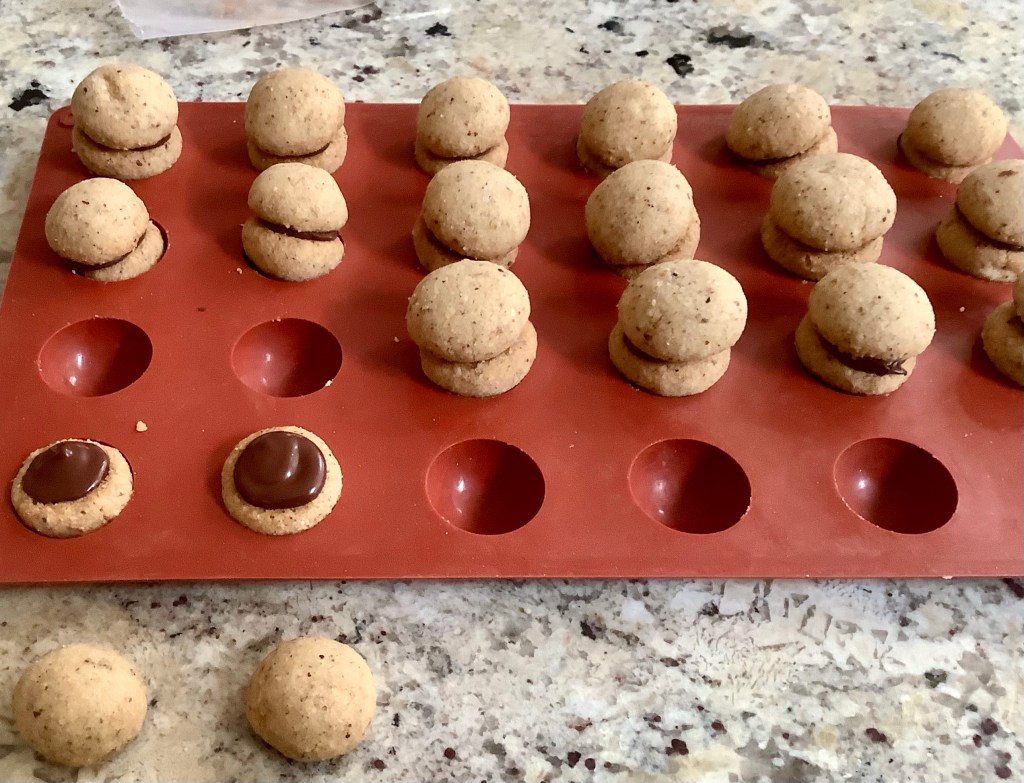
- Pair off the cookies. I like to build the sandwiches which in little silicone demi sphere molds. It stops the cookies from rolling around while the chocolate sets up.
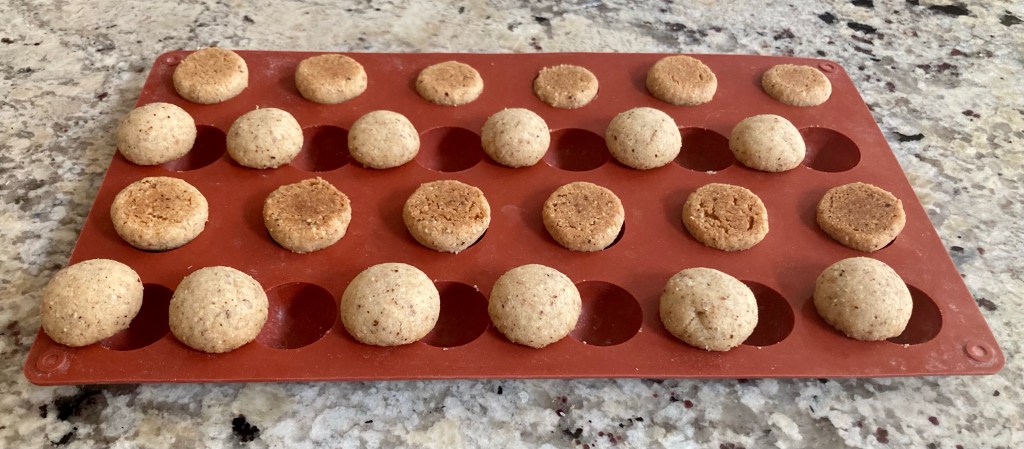
- I like to alternate the cookies so that the first line is flat side up, waiting for the chocolate. The next row is dome side up and corresponds with its mate.
- Melt the chocolate. I like to do this in the microwave in a 1 cup microwave container. For the size cup I am using and the amount of chocolate in the recipe you should microwave it for 1 minute. Stir it thoroughly. It may not look melted but it melts from the inside out. Microwave for another 30 seconds and stir. At this point you should have some liquid chocolate with some pieces. Microwave for about 10 seconds, stirring until all the chocolate is melted. If it’s not, try microwaving in five second bursts until all the chocolate is melted. You can also melt the chocolate over a double boiler. It’s not my preference because it’s still possible that steam will creep into the chocolate and the chocolate will seize.
- Once the chocolate is all melted, you have to wait until it cools to a consistency where it won’t run off the cookie when you pipe it on the flat side. I personally like to use a piping bag with a small tip (Ateco #3). I put the tip in the bag, twist and push the bottom of the bag into the tip. This keeps the chocolate from getting into the metal tip where it will harden. I like to place the piping bag (use disposable plastic) on my granite counter top and spread it out in the bag and then push it back towards the bottom with a plastic scraper. Working it back and forth in the bag will help it cool down without developing any lumps. You’ll see the chocolate slowly become thicker.
- Once the chocolate is thick enough to pipe onto the flat side of the pairs, pipe it as an even thickness close to but not all the way to the edge. I usually do about 15 halves at one time. When the chocolate is the right texture, place the domed top on top of the chocolate. If it spreads to much, eat that one and wait a bit longer for the others.
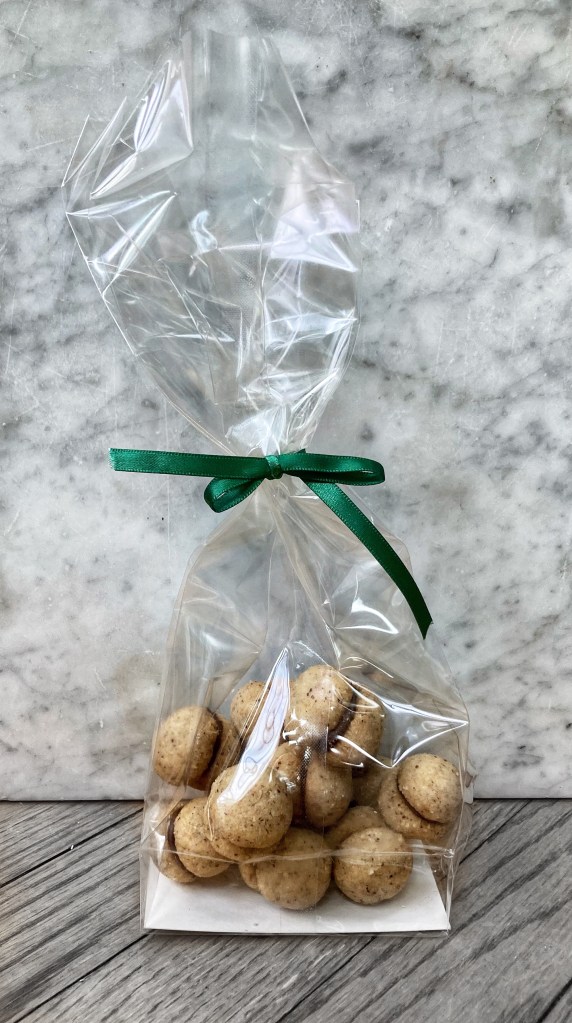
Let the cookies dry for about an hour before attempting to put them in a tin or bagging them.
© Julie de Lara and onemorebitedelara.com 2021

Another delightful winner to your collection.
LikeLike