English Style Scones
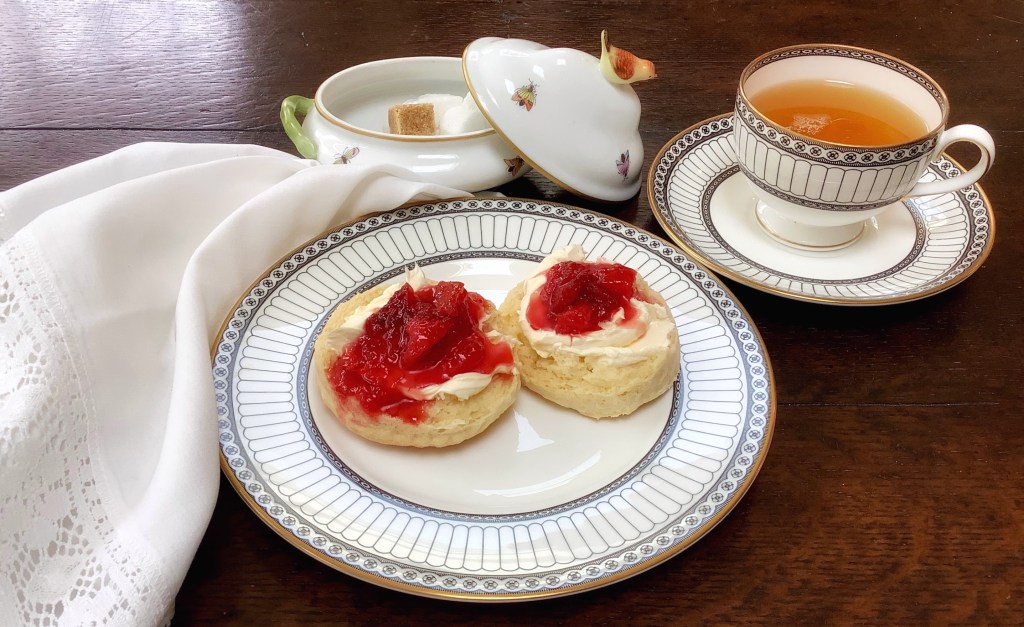
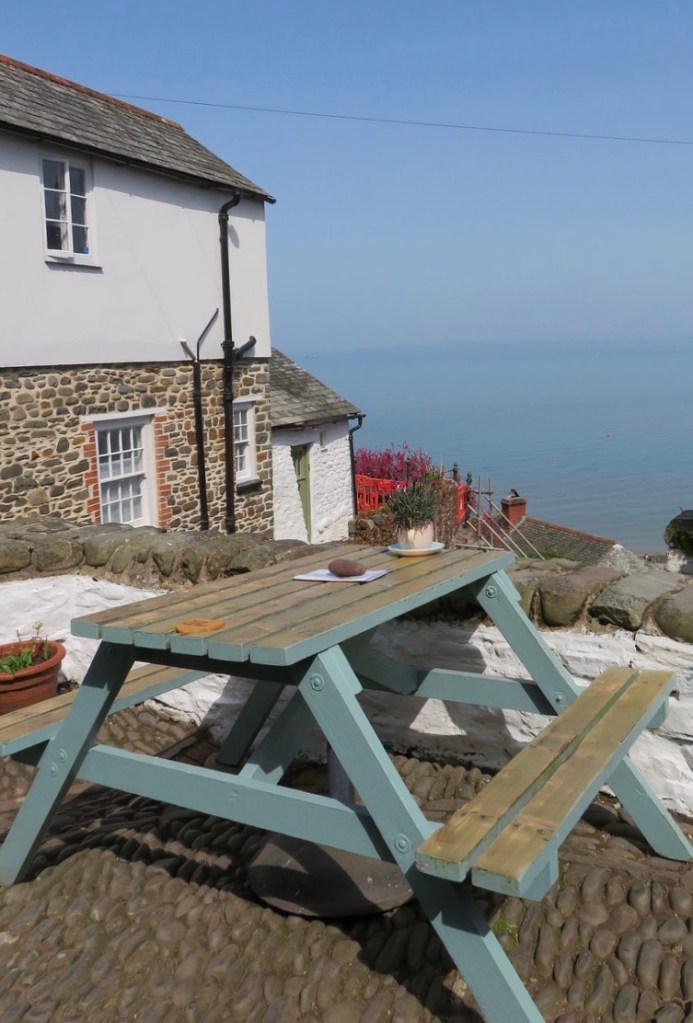
Having a scone at a little tea room in Clovelly, England was a revelation. Clovelly is a little fishing village, my favorite kind because I love the sea. The cafe was built into the side of a cliff that bordered the beach. I remember the precipitous descent from the top of the cliff down rickety stairs, a thin white railing keeping us from plunging down to the beach below. The scones were the best we’d had in England. They were light and soft and not too sweet or rich, forming the perfect platform for thick Devonshire cream and strawberry preserves.

Since Clovelly, those many moons ago, I have fiddled around with a number of recipes, trying to create scones that duplicated that memory I had. I often start with Cooks Illustrated because everything is scaled and it makes it that much easier to sort out how to adjust ingredients. They have a recipe for a English style scones and it was good but not quite what I was looking for. In the end, I used it as an outline but made some changes. I also tried Mary Barry’s recipe and a few other British recipes that call for self rising flour. Getting self rising flour in the states is difficult and expensive. I didn’t find that it made a difference in the finished scone, so I wouldn’t bother with it. The difference between British self rising flour and US AP flour is that the British flour has baking powder in it and is milled from softer wheat. You can always try this recipe with pastry flour, which is lower in gluten than AP flour. Keep in mind, flours that are lower in gluten will need less liquid, so hold more back and add as needed.
INGREDIENTS
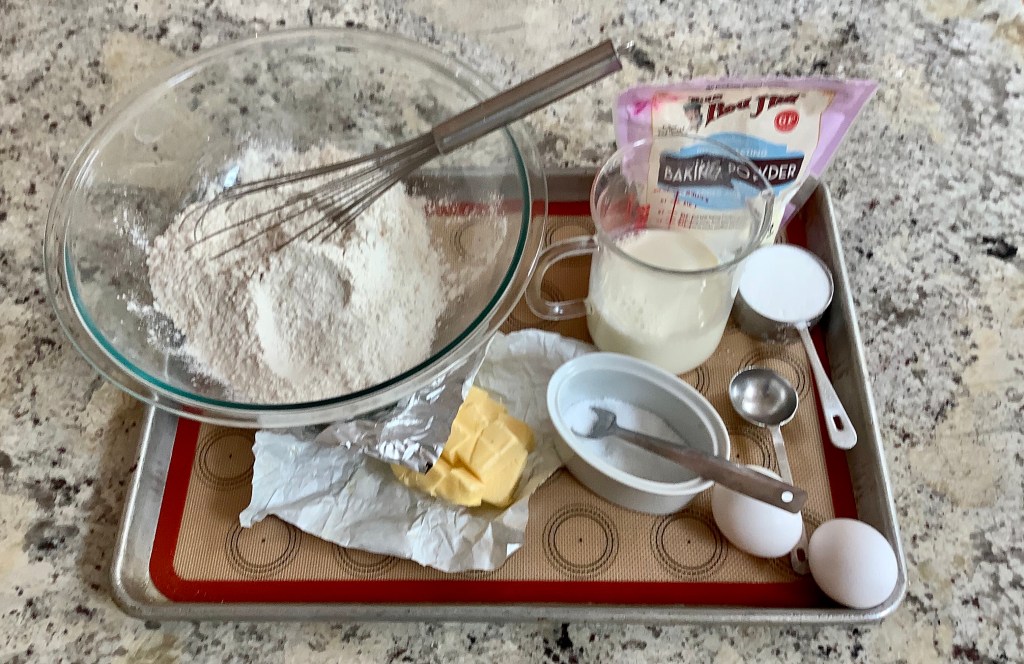
- 425 grams (15 oz) all purpose flour (Gold Medal or Pillsbury)
- 113.5 grams (4 oz) cultured butter, room temperature, about 65-70 degrees
- 1/2 teaspoon salt
- 2 tablespoons double acting baking powder
- 100 grams (2 large eggs)
- 245 grams (1 cup) whole milk
- 68 grams (1/3 cup) superfine sugar
DIRECTIONS
- Preheat oven to 500 degrees Fahrenheit.
- Add the two eggs to the milk and whisk well. Remove 4 tablespoons of the milk and set aside. You’ll be using this to brush the tops of the scones.
- In a large bowl mix together the flour, sugar, baking powder, and salt. Blend with a whisk. This can also be done in a food processor.
- Cut butter into about 16 equal pieces and put on top of the flour. Toss it with the flour to coat each cube and start rubbing the flour and the butter between your finger tips to make fine crumbs. Your fingertips are the coolest part of your hand so that’s why they are used. If you feel like your getting smears instead of crumbs, put your hands in cold water and wipe them dry. You can also stick the bowl in the fridge for a few minutes to chill everything. You can use a food processor, pulsing a few times until you get fine crumbs and that works too. Whatever method you use, the mixture should look like fine breadcrumbs when you are done.
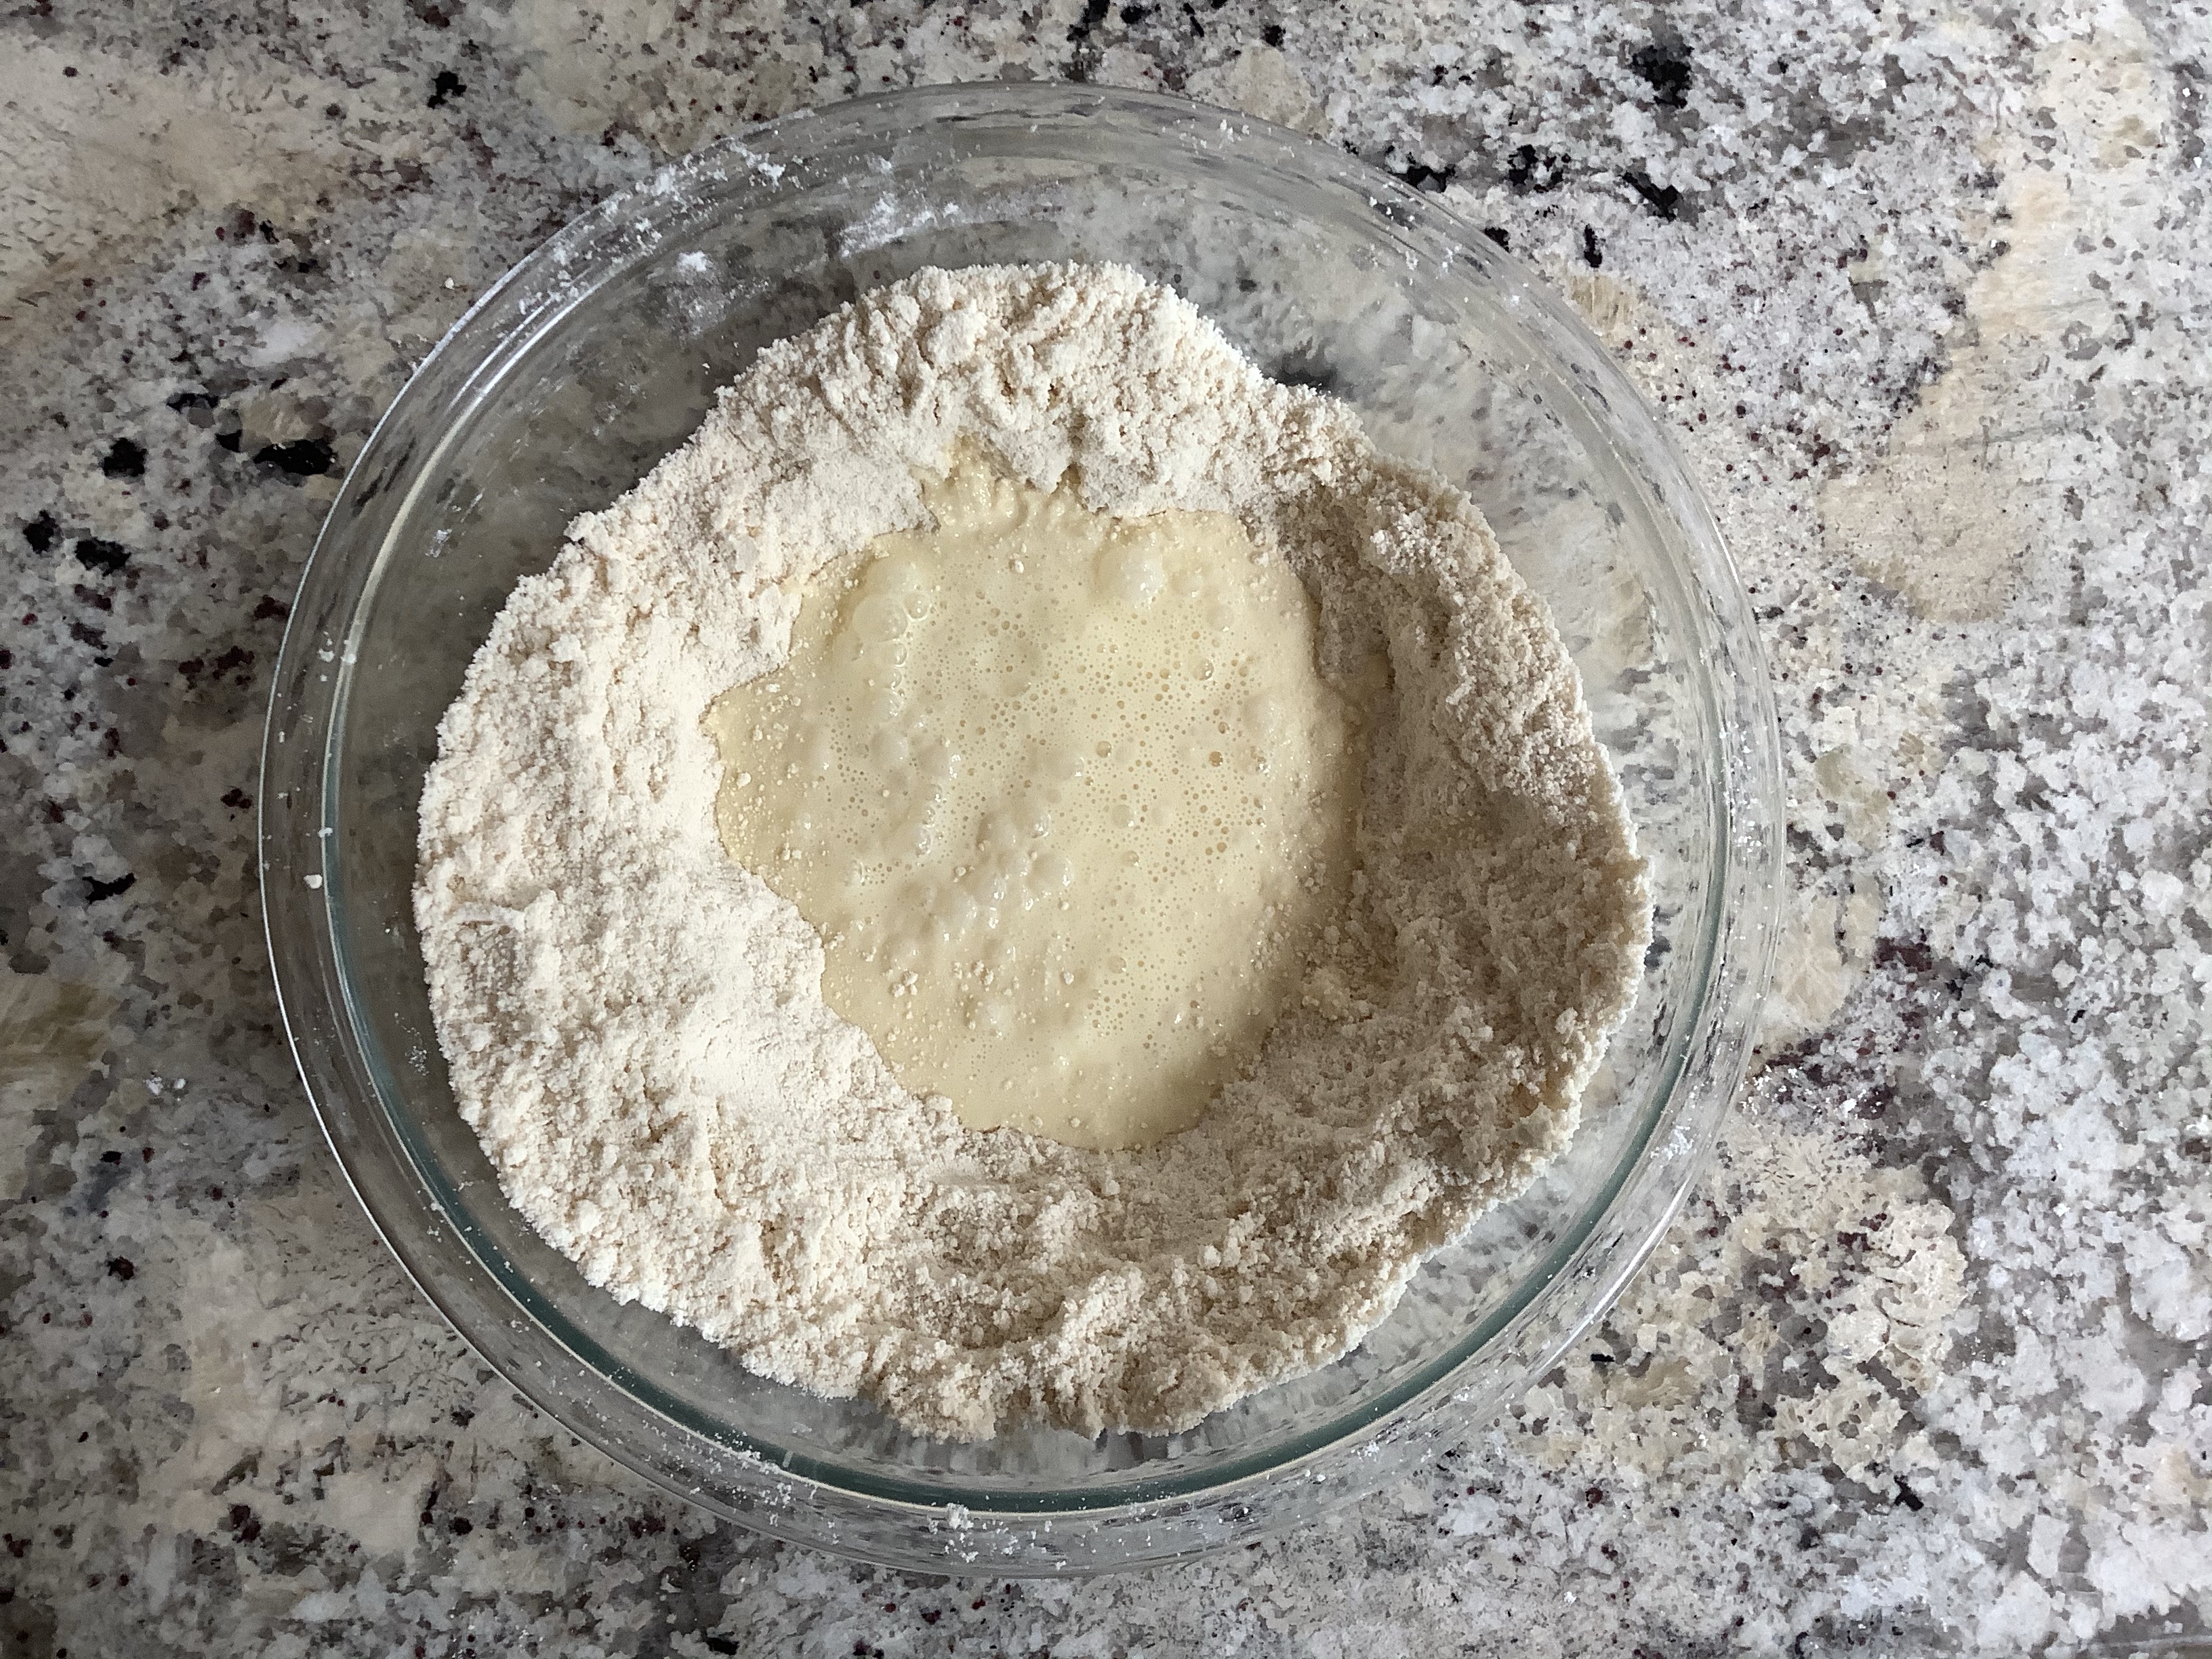
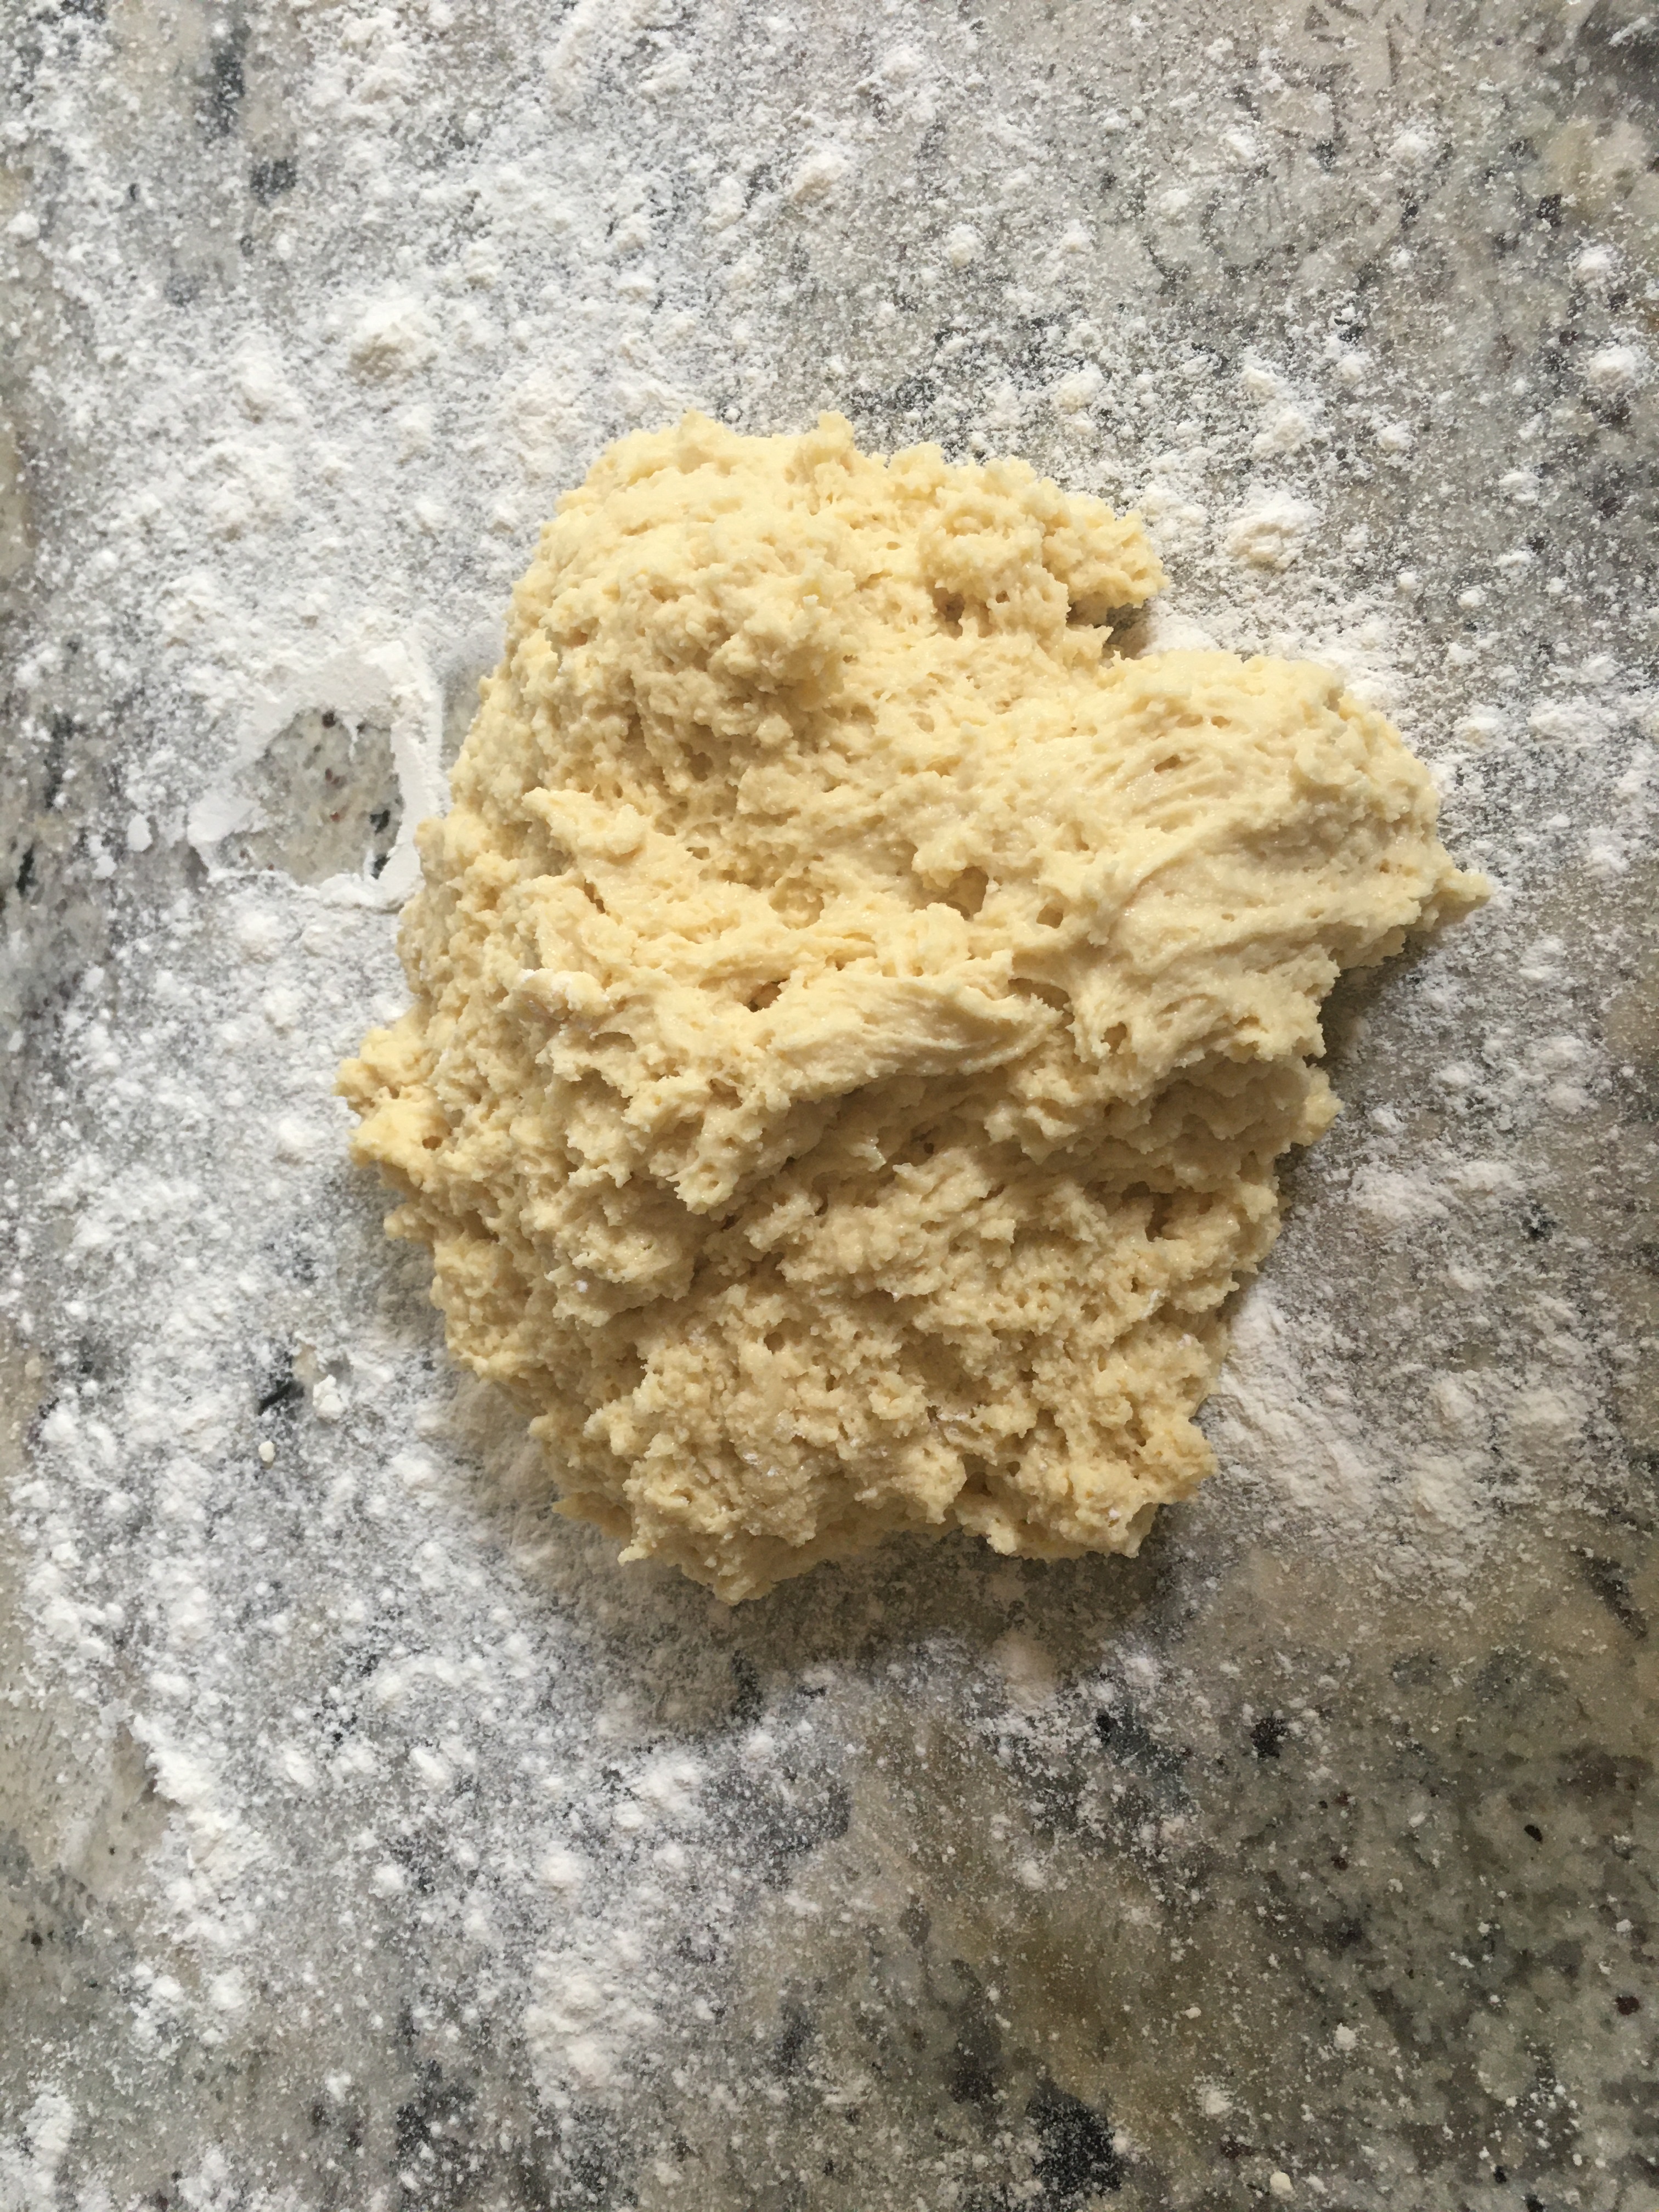
- Make a well in the center of the flour mixture and pour the milk in the middle, with the exception of the 4 tablespoons you set aside. Gently pull the flour in from the sides, incorporating the flour and milk. Be gentle, and stop as soon as all the milk and flour are blended together. I like to use the side of a knife or spatula and do a few crosshatches and then fold and repeat until it’s blended. You’ll need to assess whether you need the extra milk. If so, add it a teaspoon at a time and make sure you don’t add more than 2 tablespoons total. The dough will soft and a little sticky.
- Tip out onto a well floured surface. I work directly on my granite countertop. You can also work on a silicone mat but you still have to sprinkle it with flour.
- For the fluffiest and most tender scones, knead the dough until the dough is smooth. You can use a bit of flour so it doesn’t stick but use it sparingly. Pat it into a circle with well floured hands until it’s about a 1” thick. Thicker is not better. If they are two tall they’ll just list to one side as they bake.
- Flour a 2″-2.5” cookie cutter and cut straight down into the dough without twisting. I find this works better if I have my dough on a surface that’s below my waist so I can really lean over the dough while I cut it. Otherwise, it’s hard to know if you’re cutting straight down or at an angle.
- If the scone falls out of the cutter onto the counter as you pull it up, use an offset spatula, dipped in flour, to pick up the scone and move it to a baking tray lined with a Silpat or parchment paper. Flip the scone on to the baking sheet bottoms up. This will give the finished scone a nice crisp edge at the top. If the scone sticks in the cutter shake it out on the tray. Make sure you flour your cutter before each cut. Some recommend placing the scones on the tray so they’re touching each other. The theory is that if they start listing sideways as they rise in the oven they’ll fall into each other and stay a little straighter. I didn’t find this to be true when I tried it and I found that the edges of the scones didn’t cook well.

- Once all the scones are on the tray put it onto the center rack in the oven and immediately turn down the oven to 425 degrees F. Bake scones for 14 minutes until they’re golden brown on top.

© Julie de Lara and onemorebitedelara.com 2020
